Moving out of a home is an exciting but often overwhelming process, especially when it comes to end of tenancy cleaning. Among the many tasks on your to-do list, ensuring your old place is spotless for the next occupants is crucial. A thorough Move out house cleaning in Amsterdam not only helps you get your security deposit back but also leaves a positive impression on the new tenants. Here’s your ultimate guide to achieving a pristine home before you hand over the keys.
Tips for move out house cleaning in Amsterdam

Start with a move out house cleaning checklist
Before you take your mop and bucket, make a cleaning strategy. A methodical strategy guarantees that you cover every inch of your property and don’t overlook any vital places. Incorporate a cleaning schedule for your move out house cleaning to ensure all tasks are completed in a timely manner. Here’s how to organize your plan:
Room-by-Room Checklist: Organize your cleaning duties per room. Begin with the least-used rooms and go to the more regularly utilized ones.
Timeline: Depending on the size of your house, allow enough time to completely clean it. Consider spreading the duties out across many days in bigger houses.
Supply List: Gather all of your cleaning materials, including all-purpose cleaners, glass cleaners, sponges, mops, brooms, vacuums, dusters, and microfiber cloths.
Using appropriate cleaning solutions for different surfaces and tasks is crucial to ensure thorough and effective cleaning.
Declutter before carrying out move out house cleaning
Cleaning a crowded area during your move out house cleaning may be stressful and inefficient. Start by decluttering each room. Pack your personal belongings, get rid of any rubbish, and give or sell whatever you no longer need. A decluttered room is easy to clean and provides a clear perspective of what needs to be addressed. Professional cleaners can then efficiently handle the detailed cleaning process, ensuring thorough cleanliness and enhancing the property’s condition for its next occupants. A cleaning company, like Weschoon can assist with the detailed cleaning process, making sure every corner is spotless.
Concentrate on high-traffic areas for move out house cleaning
Certain sections of your house will naturally gather dirt and filth. When carrying out move out house cleaning, pay additional attention to these high-traffic areas to ensure a thorough cleaning using appropriate cleaning products.
Entryways: Sweep and mop the floors, clean the doormats, and wipe down any surfaces.
Vacuum carpets, clean baseboards, dust light fixtures, and wash windows.
Kitchens and Bathrooms are notoriously difficult to clean owing to oil and food spillage, limescale, and stubborn stains. Pay close attention to the appliances, countertops, and cabinetry.
Hiring a professional move out house cleaning service can ensure these high-traffic areas are thoroughly cleaned, providing expertise and experience for a healthier living environment and enhancing the chances of receiving a security deposit refund.
Kitchen cleaning tips for move out house cleaning
The kitchen is a critical component of any move-out cleaning checklist. Here’s how to approach it effectively:
Use an oven cleaner to remove baked-on oil from your oven and stove. Scrub the cooktop thoroughly, paying particular attention to the burners and grates. Don’t forget to clean behind the stove and oven.
Refrigerator: Empty the fridge and freezer, defrost as needed, and wipe down all surfaces with disinfectant. Then, remove and clean the shelves and drawers individually.
Cabinets and Drawers: Clean both the inside and outside of all cabinets and drawers. Look for any sticky areas or crumbs.
Sink and faucets: Clean the sink with a moderate abrasive cleanser. Don’t forget to clean the faucet and any debris in the sink area.
Quality move out house cleaning services ensure every part of the kitchen is meticulously cleaned using appropriate cleaning agents, providing a thorough and professional finish.
Bathroom Cleaning tips for move out house cleaning
To keep bathrooms shining, considerable attention to detail in bathroom cleaning is required, along with the right cleaning supplies.
Toilet: Scrub the toilet bowl, including under the rim. Clean the outside and behind the toilet.
Shower and tub: Use a bathroom cleanser to remove soap scum and mildew. Scrub the tiles, grout, and fixtures. If the showerhead is detachable, soak it in vinegar to remove mineral deposits.
Wipe Out – Wipe down the sinks and counters. Clean the faucet and all fixtures.
Mirrors and glass: Use a glass cleaner to keep mirrors and glass surfaces streak-free.
A tenancy cleaning service can ensure the bathroom meets inspection standards, helping tenants avoid potential deductions from their deposits.
Living spaces and bedrooms
A thorough cleaning of living rooms and bedrooms requires meticulous attention to detail and the right cleaning equipment.
Dusting: Dust all surfaces, including shelves, furniture, ceiling fans, and lighting fixtures. Use a microfiber towel to collect dust rather than just spreading it around.
Carpets and floors: Vacuum the carpet thoroughly, paying close attention to corners and edges. If feasible, steam-clean carpets to eliminate deep-seated grime. Sweep and mop hardwood or tile floors to ensure they shine.
Windows: Clean both inside and out. Do not forget to wipe the window tracks and sills. Window cleaning is crucial to ensure a spotless appearance.
Closets: Empty them, dust the shelves, and clean the doors.
Do Not Forget the Details
While focused on massive surfaces and fixtures, it’s easy to ignore the little elements that may make a significant difference:
Use appropriate cleaning tools to wipe down the baseboards, trim, and door frames. Dust might build in certain regions, making them seem drab.
Light switches and outlets: Wipe them off with a moist cloth. Germs and filth may be present in these regions.
Cleaning door handles: Clean and disinfect all door handles and knobs in the home.
Vents and Filters: Dust and clean the air vents and change filters as needed.
Final touches for your move out house cleaning
After cleaning each room, it’s time for the finishing touches.
Tour: Perform a complete tour of your house. Check for any spots that need to be touched up or that you may have overlooked to ensure you meet the cleaning standards.
Odor Control: To remove odors, open windows or apply air fresheners.
Disposal: Properly dispose of any cleaning supplies, garbage, or things you leave behind.
Meeting lease requirements for your move-out
Meeting lease requirements is a crucial aspect of move-out cleaning. Most lease agreements stipulate the condition in which the property should be returned. Failure to comply with these terms can result in disputes and deductions from the security deposit. A professional move-out cleaning service can help ensure that the property meets the required standards, giving you peace of mind and increasing the chances of getting your deposit back.
When you hire a move out cleaning service, like Weschoon, they are well-versed in the common requirements set by landlords and property managers. They know exactly what areas need special attention and can provide a thorough cleaning that aligns with your lease agreement. This includes everything from deep cleaning bathrooms to ensuring all appliances are spotless. By meeting these requirements, you can avoid any potential conflicts and ensure a smooth handover of the property.
Deposit retrieval after move-out cleaning
Deposit retrieval is a significant concern for many tenants. A thorough move-out cleaning can significantly increase the chances of getting your security deposit back. By hiring a professional cleaning service, you can ensure that the property is left in pristine condition, meeting the requirements of the landlord or property manager. This can help prevent disputes and ensure that you receive your deposit in full.
Professional cleaning services are equipped with the right tools and expertise to tackle even the toughest cleaning tasks. They can address areas that are often overlooked, such as behind appliances, inside cabinets, and high-touch surfaces. This level of detail can make a big difference during the final inspection, showing that you have taken good care of the property. Investing in a move out cleaning service can ultimately save you money by helping you retrieve your full security deposit.
Sanitize and disinfect the apartment
Sanitizing and disinfecting are essential steps in the move-out cleaning process. These steps help eliminate germs, bacteria, and other microorganisms that can be present in the property. A professional cleaning service will use specialized equipment and cleaning products to sanitize and disinfect all surfaces, including high-touch areas such as doorknobs, light switches, and countertops. This helps create a hygienic environment for the next occupants and ensures that the property is left in a clean and healthy state.
During the move-out cleaning, it’s important to go beyond just surface cleaning. Professional cleaners use high-quality disinfectants that are effective against a wide range of pathogens. They also follow a systematic cleaning process to ensure that every corner of the property is sanitized. This not only makes the property safer for the next tenants but also demonstrates your commitment to maintaining a high standard of cleanliness.
Window cleaning: tips and techniques
Window cleaning is an often-overlooked aspect of move-out cleaning. However, it is essential to leave windows clean and streak-free to ensure that the property looks its best. Here are some tips and techniques for effective window cleaning:
- Use a mixture of water and vinegar: This helps prevent streaks and residue, leaving your windows sparkling clean.
- Use a lint-free cloth or microfiber cloth: These materials are gentle and effective, ensuring a streak-free finish.
- Avoid using paper towels: Paper towels can leave behind lint and streaks, detracting from the overall cleanliness.
- Use a squeegee: A squeegee is excellent for removing excess water and preventing streaks.
- Clean windows on a cloudy day or in the shade: This prevents streaks and water spots, as the cleaning solution won’t dry too quickly.
By following these tips and techniques, you can ensure that your windows are left clean and streak-free, adding to the overall cleanliness and appeal of the property. Clean windows can make a significant difference in the appearance of a home, making it look brighter and more inviting for the next occupants.
Why Move out house cleaning is Important
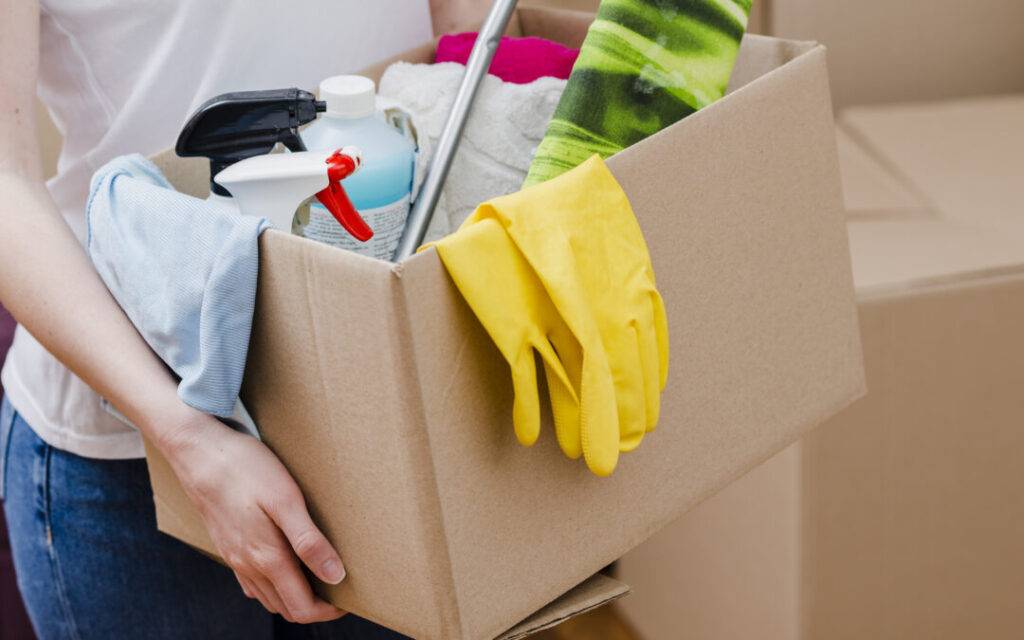
Move-out cleaning is a crucial step in the moving process, and it’s essential to understand why it’s so important. When you’re moving out of a rental property, you want to leave a good impression on your landlord or property manager. A clean and well-maintained property can help you get your security deposit back and ensure a smooth transition for the next occupants.
Moreover, move-out cleaning is not just about leaving the property in a clean state; it’s also about showing respect for the property and the people who will be living there next. Utilizing effective cleaning techniques can help remove any dirt, grime, or allergens that may have accumulated during your stay, making the property a healthier and more welcoming space for the next tenants.
In addition, move-out cleaning can also help you avoid any potential disputes or deductions from your security deposit. By leaving the property in a clean and tidy state, you can demonstrate that you’ve taken good care of the property and reduce the likelihood of any issues arising during the move-out inspection.
Consider hiring professional cleaners
If you have limited time or want to ensure thorough cleaning, consider hiring professional move-out cleaners. They have the skills and ability to complete even the most challenging cleaning chores, leaving your property in immaculate shape. This is particularly useful if you have a big house or your lease demands professional cleaning services. Hiring professional cleaners and usining cleaning checklist can help ensure nothing is overlooked.
Hire Weschoon move-out house cleaning service
At Weschoon, we offer a range of move-out cleaning services designed to meet the unique needs of our clients and move-out lease agreement. Our moving out cleaning services are tailored to provide a thorough and detailed clean of your property, paying attention to all areas, including those that are often overlooked.
Our moving out cleaning services include:
- Thorough cleaning of all rooms, including kitchens, bathrooms, and bedrooms
- Detailed cleaning of appliances, fixtures, and fittings
- Scrubbing of floors, and surfaces to remove dirt, grime, and stains
- Dusting and polishing of furniture and fixtures
- Vacuuming and mopping of floors
- Cleaning of light fixtures, ceiling fans, and air vents
- Extra services based on unique cleaning needs
Our moving out cleaning services are designed to provide a comprehensive and thorough clean of your property, ensuring you get your security deposit back.
Conclusion
Move-out cleaning in Amsterdam may seem onerous, but with a planned strategy and attention to detail, it is doable. An immaculate house not only allows you to depart on a nice note but also helps you secure your deposit and keep a good relationship with your landlord. Whether you do the cleaning yourself or employ pros, Weschoon guarantees a seamless and pristine changeover with the best move-out cleaning.
Frequently Asked Questions
A typical move-out cleaning service includes:
- Cleaning and disinfecting the bathroom(s) (toilets, showers, sinks)
- Deep cleaning the kitchen (countertops, cabinets, appliances)
- Sweeping, mopping, and vacuuming all floors
- Cleaning interior windows, mirrors, and light fixtures
- Dusting baseboards, door frames, and window sills
- Wiping down walls, doors, and light switches
- Removing cobwebs
- General tidying and surface cleaning throughout the apartment
- Cleaning inside of applainces; refrigerator, oven, microwave etc
For a DIY move-out cleaning, you will need:
- All-purpose cleaner
- Glass cleaner
- Floor cleaner (appropriate for your floor type)
- Bathroom cleaner or bleach
- Sponges, scrub brushes, microfiber cloths
- A vacuum cleaner, broom, and mop
- Trash bags for any debris
- Optional: Oven cleaner (if needed)
This depends on your lease agreement and your time availability. Many landlords require a thorough cleaning for a full security deposit return. If you have the time and cleaning skills, you can clean it yourself. Otherwise, hiring a professional move-out cleaning service, like Weschoon might save time and ensure that the job is done to your landlord’s standards.
Some common areas often overlooked include:
- Inside kitchen appliances (oven, fridge)
- Window tracks and blinds
- Ceiling fans and light fixtures
- Baseboards and door frames
- Behind large appliances (stove, refrigerator)
- Closets and shelving units
If the apartment is not cleaned to the landlord’s standards, they may withhold a portion of your security deposit to cover cleaning costs. It’s best to communicate with your landlord to understand their cleaning expectations in advance.
It’s best to start cleaning a few days before your move-out date. Clean room by room and leave the kitchen and bathroom for last since these areas are typically the most used.

